
Prott for Beginners Vol. 3
Adding transitions and gestures

Thanks for following Prott for Beginners!
If you have been following us for a while, you should be familiar with creating your first project with Prott and uploading screen images for your prototypes.
Today we are going to take you through how to add interactions between screens!
Browser Version
Once you have uploaded your screen images, you are ready to go!
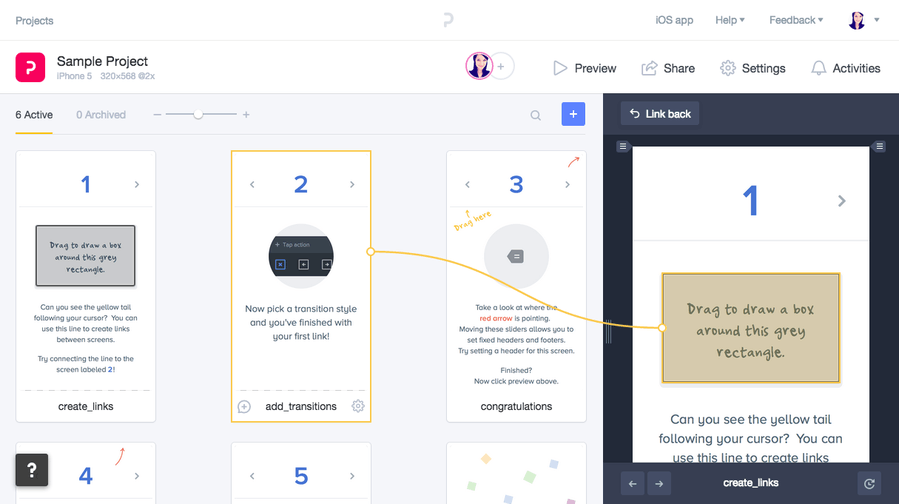
(1) Select desired interactive hot spot
Simply drag your mouse over the area you would like to create a button or add an interaction.

(2) Link to target screen
Once you have selected the hot spot, a line will appear. Connect this line to the screen you would like to link.
(3) Select gesture
Now you are ready to select which gesture you want to prompt the link to the target screen.
Take your pick from: tap, double tap, tap hold, swipe up, swipe down, swipe left, swipe right, pinch in, and pinch out.
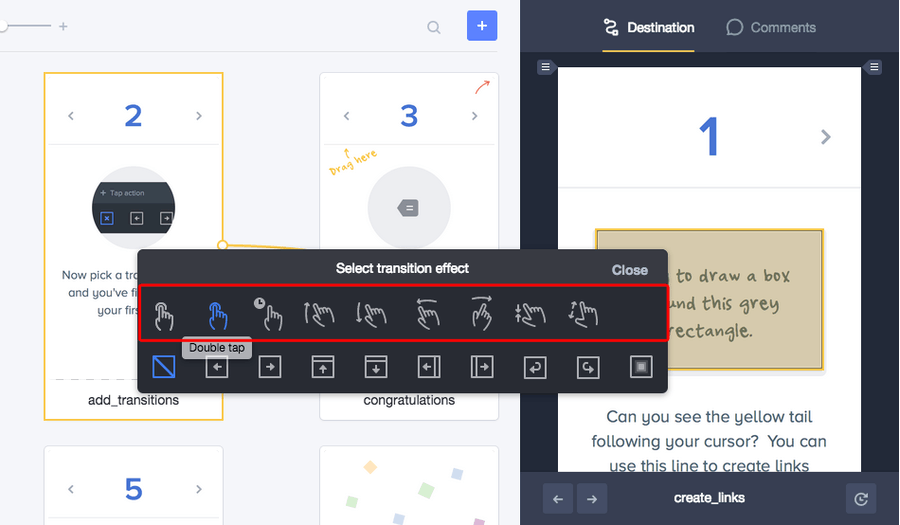
(4) Select screen transition
All that is left is to select the transition between your screens when prompted by the selected gesture.
The available transitions are: none, push left, push right, slide up, slide down, slide left, slide right, flip left, flip right, and dissolve.
Follow steps 1 to 4 for all interactions you want to create and your prototype will be ready for testing!
iOS Version
You can easily create interactions using the Prott app as well!
(1) Select desired interactive hot spot
Click anywhere on the screen to create a hot spot. With your finger, drag any of the four corner dots to adjust the size and placement of the hot spot.
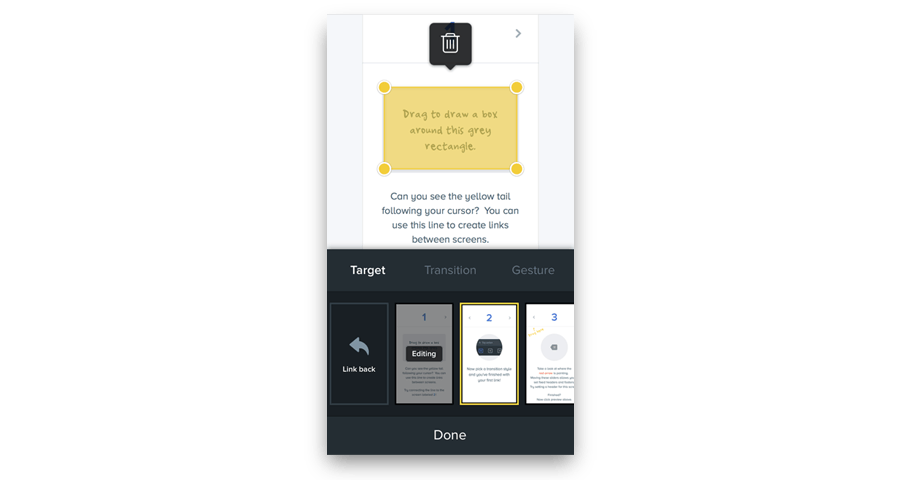
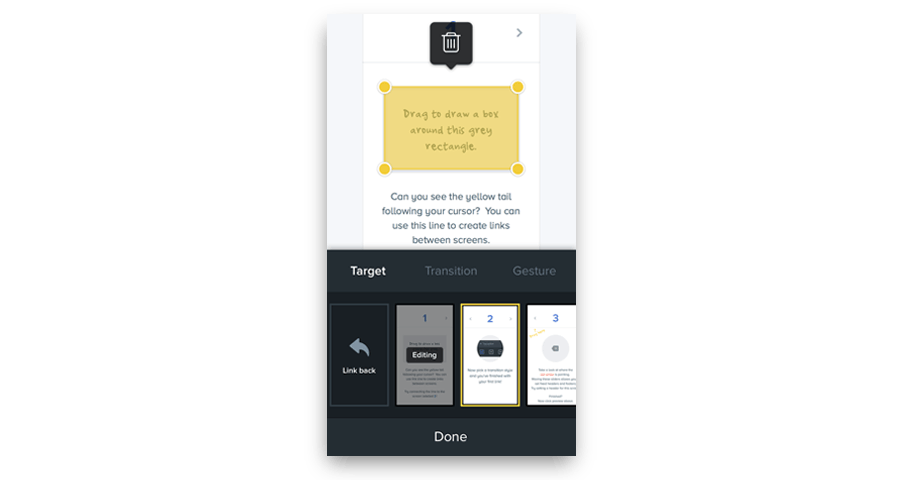
(2) Link to target screen
Once you have selected the hot spot, click on the screen you want to link under “Target”.
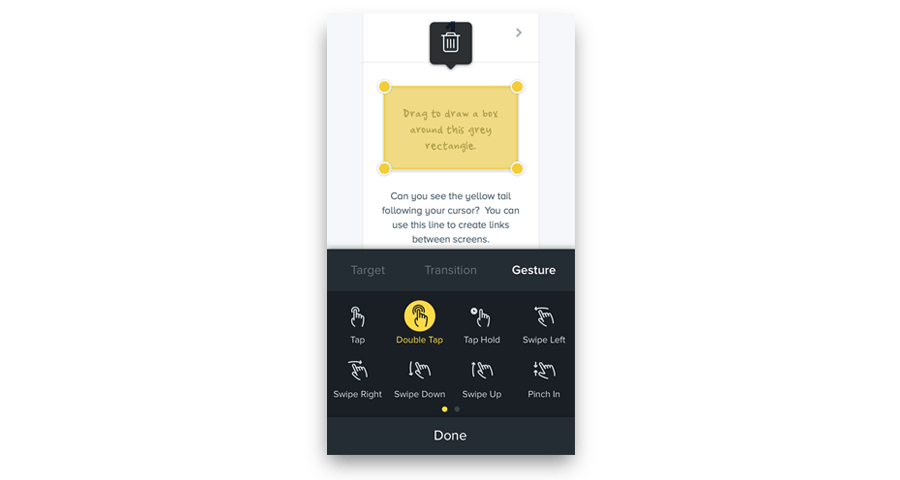
(3) Select gesture
Under “Gesture”, select the gesture you want to prompt the link between your screens.
(4) Select screen transition
Finally, select the transition you want to see between the linked screens under “Transition”
Repeat these steps to create all your desired links and interactions. Your prototype is now ready to be tested.
Next week we will show you how to preview your interactive prototypes for testing and sharing with your team members!